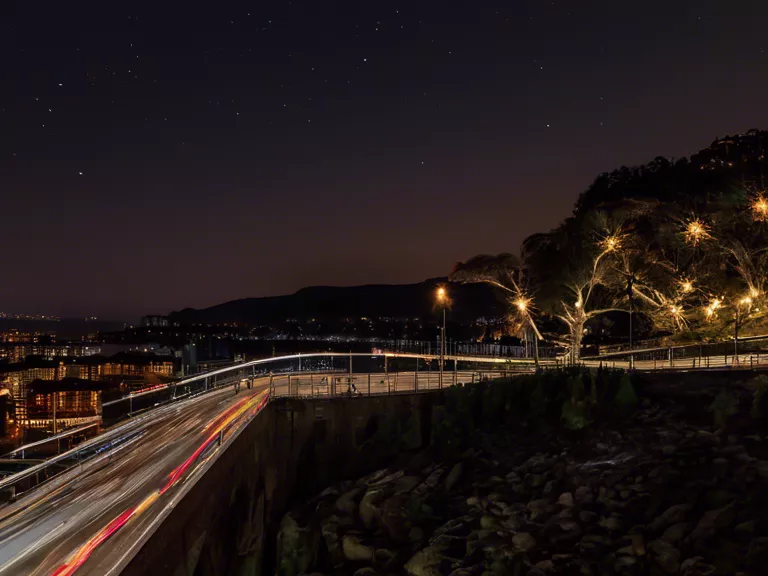
Night photography can be challenging, especially when you want to capture stunning images in low-light conditions. Using manual mode on your camera can help you achieve the desired results. In this article, we will provide you with tips and techniques on how to use manual mode for night photography, so you can create breathtaking images that stand out.
First, set your camera to manual mode by selecting M on the mode dial. This gives you full control over the exposure settings - aperture, shutter speed, and ISO. Adjusting these settings is crucial for capturing sharp and well-exposed photos in low light.
Next, set your aperture to a wide-open setting to allow more light to enter the camera. A lower f-stop (such as f/2.8 or f/4) is ideal for night photography, as it helps create a shallower depth of field and captures more light.
Then, adjust your shutter speed accordingly. For night photography, a slower shutter speed is necessary to let in more light. However, be mindful of camera shake - use a tripod or stable surface to avoid blur in your photos.
Lastly, set your ISO to a higher value to increase the camera's sensitivity to light. Keep in mind that higher ISO values can introduce noise in your photos, so find a balance between a bright image and minimum noise.
Experiment with different combinations of aperture, shutter speed, and ISO to find the perfect settings for your night photography. Practice and patience are key to mastering manual mode and capturing stunning images in low-light conditions.


